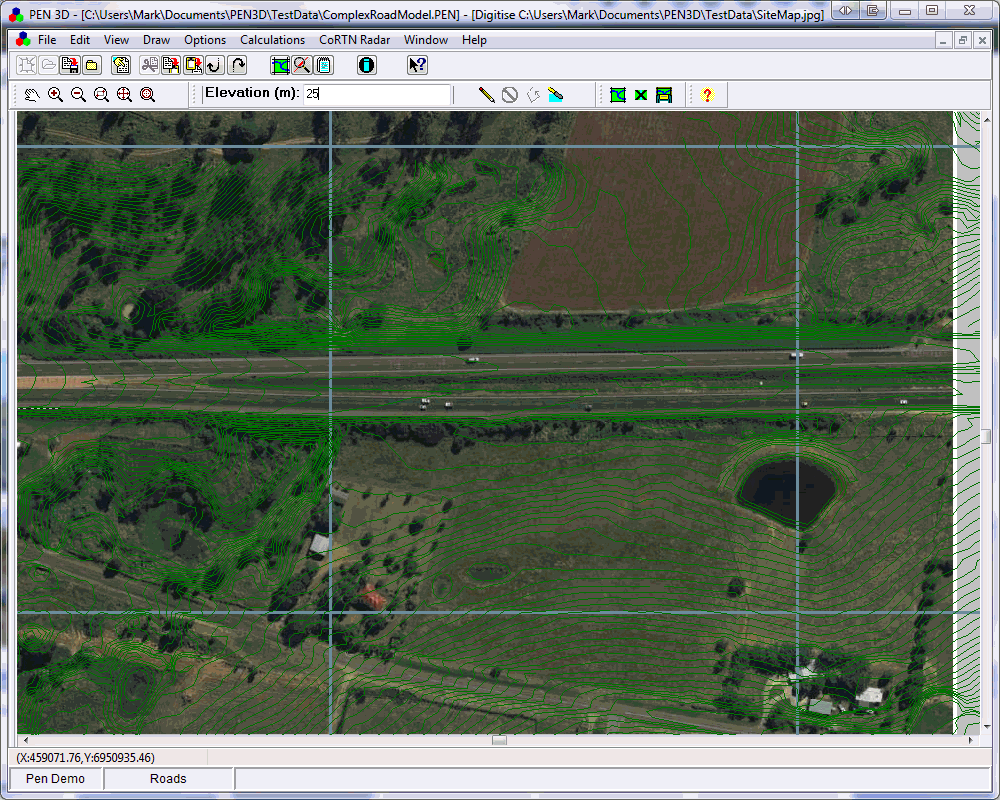
The steps to digitise a road comprise:
- Select from the draw menu Noise Source/Road
- Enter the road elevation (or if your DTM is very detailed ignore) otherwise prior to digitising any point edit to the appropriate elevation; (to assist you can turn on display options to display ground elevations)
- Click the start digitising button (the pencil icon in the tool bar)
- Go to the start of the road and mouse left-click to start digitising;
- Move to the end of the road segment, mouse left-click to end the road segment and this brings up the CoRTN entry dialog. Enter the properties for this road segment.
- Repeat step 5 until end of road and press the stop digitising button
- If there is a high quality DTM then select the on-ground option (under the calculations menu item)
Try turning on and off the “on-ground” option. PEN3D will optionally calculate the best height for each end of the road segment based on the underlying terrain model when turning off the “on-ground” option. The calculations are fractionally quicker with on-ground turned off, However, with a high-quality DTM a better representation of the road is usually achieved using the on-ground model.
Click image to see an animated GIF of the process